Building a custom Apple keyboard
Over time, I’ve slowly become a bit of a keyboard nerd. When I put together my very first PC as a teenager, I ended up buying an IBM Model M keyboard from a friend’s dad. At the time, I didn’t know that it would eventually rise to legendary status among keyboard enthusiasts — I just knew I liked the heft and the satisfying sound of the keys being pressed. That Model M stayed with me for years and years, but fell into disuse. For a decent chunk of my professional life, I used Apple’s modern chiclet-style keyboards; at the time, I liked the short key travel and the extra space separating the keys. Eventually I started working from home more often, and so needed to have two setups for my laptop. At the office, I used quieter keyboards, but at home I dug the Model M back out. I found someone on eBay who sold me a cable that converted the PS/2 output into USB, suitable for use by a modern computer. And I started to really enjoy using the old clunker. When you type on a keyboard all day, it turns out that the type of keyboard makes a big difference (see what I did there?).
When I switched jobs in 2015, I decided that I needed a better keyboard “for the office.” From various parts of the internet, I had heard about the Happy Hacking Keyboard, and was intrigued by the 60% size and Topre keyswitches. I bought one, loved it, and have been using it off and on ever since. With that experience in mind, when I switched jobs last year I thought I would continue the “new job == new keyboard” tradition, and built a custom split keyboard from Keebio, the Quefrency. I wasn’t sure what to expect, having never built my own keyboard before, but the hotswap keyswitch sockets made it incredibly easy to put together. No soldering was required; it was basically about the easiest possible way to get into the DIY keyboard hobby.
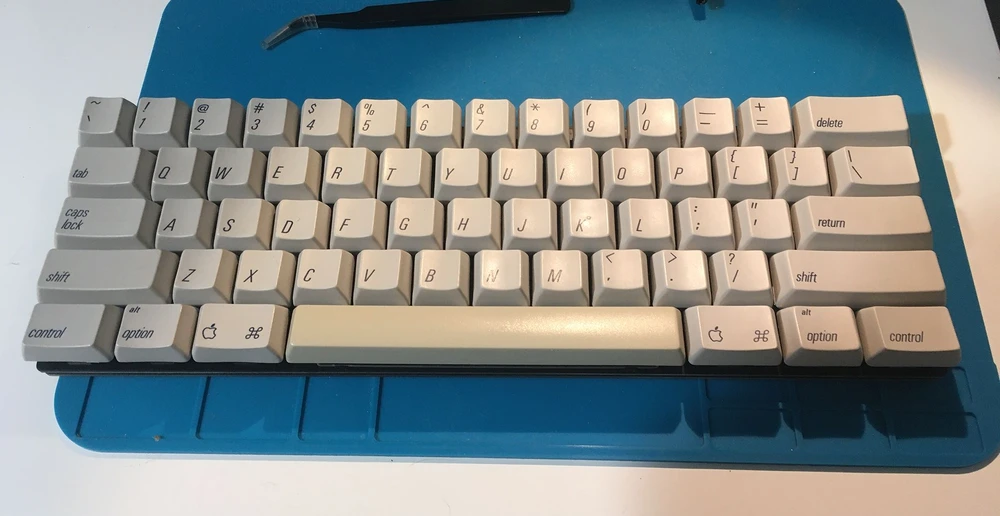
Well, I haven’t switched jobs again, but I recently got the itch to build another keyboard. I was trolling the internets, as one does, and saw examples of vintage Apple Extended Keyboards hacked down to 60% size. My interest was immediately piqued. My keyboard collection at this point included boards with buckling spring switches, Topre switches, and Cherry switches. I had been wanting to make a board that used ALPS style switches, but hadn’t been able to find suitable keycaps. Unfortunately, most enthusiasts these days use Cherry-compatible key switches, and therefore most custom keycap sets are for Cherry switches only. ALPS switches have a different stem shape, and are incompatible. I guess I theoretically knew that it was possible to harvest keycaps from older keyboards, but it never quite clicked until I saw examples of repurposed Apple keycaps online. Since didn’t want to destroy a working keyboard, I found a listing on eBay for just a set of Apple Extended Keyboard II keycaps. I’m assuming that they were salvaged from a dead board, so I don’t have “ruining vintage computer equipment” on my conscience.
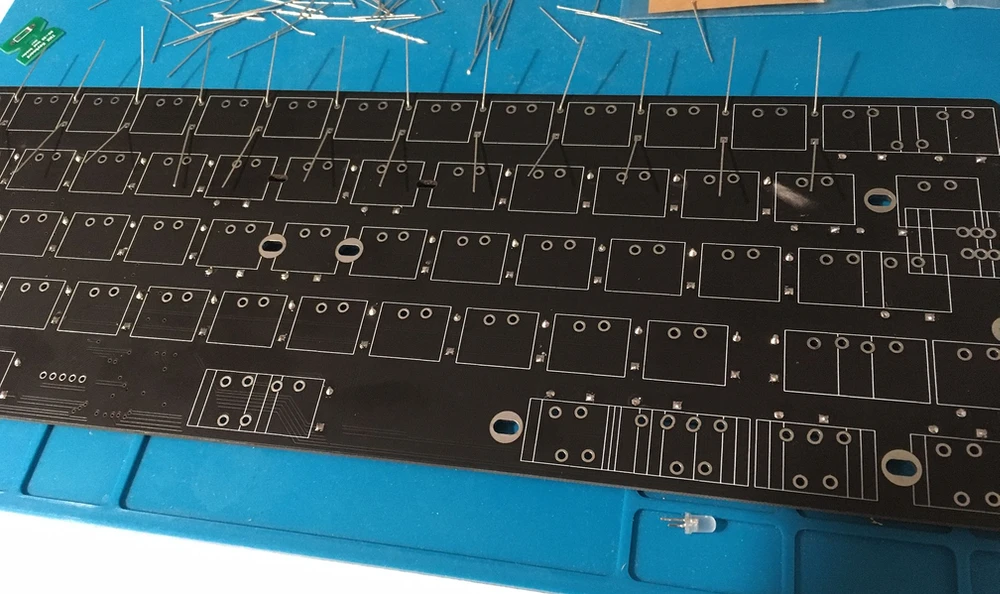
The various example keyboards I saw were based off a custom PCB called Alps64, which is made by a keyboard enthusiast named hasu. While it doesn’t seem like a full-time, professional operation, hasu does take orders for Alps64 boards. The only slight problem was that hasu lives in Japan, and Japan Post has suspended service to the USA due to COVID, so I had to pony up some extra cash for a botique shipping company. Fortunately, since the Alps64 is a standard 60% size, it can fit any number of existing cases. I got a generic case made out of black anodized aluminum.
With the PCB and layout plate obtained, I had to decide exactly what switches I wanted. I decided that I wanted to buy new switches, rather than salvage them from an existing keyboard. To that end, I bought ALPS-compatible Matias quiet click switches. Since real ALPS aren’t made anymore, these Matias switches (clones, basically) are the next best thing. The quiet click switches are tactile, with a satisfying bump. The clicky switches seemed too loud to me, and I want to be able to use keyboards that aren’t too annoying in an office setting. Matias will sell you a switch tester with free shipping, if you would like to test each type in person.
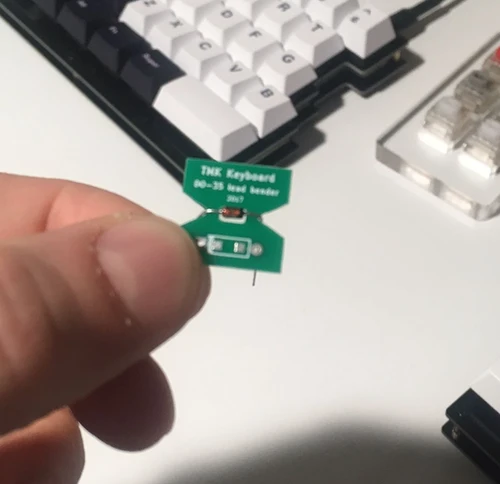
With all the parts on hand, next came assembly. In contrast to my previous board which used hot-swappable sockets, this keyboard required some soldering. The PCB came with resistors that needed to be soldered, in addition to each switch. One very cool extra that was included with the Alps64 was a small tool that helps bend the leads on the resistors so that they fit perfectly in the board. Connecting all the resistors and switches was more tedious than difficult, as there was no delicate soldering required. Screwing the PCB into the bottom case completed the build.
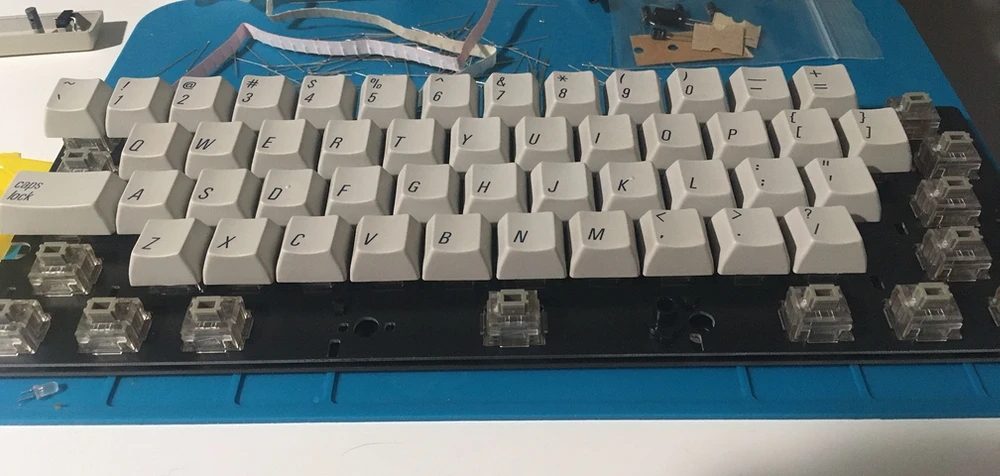
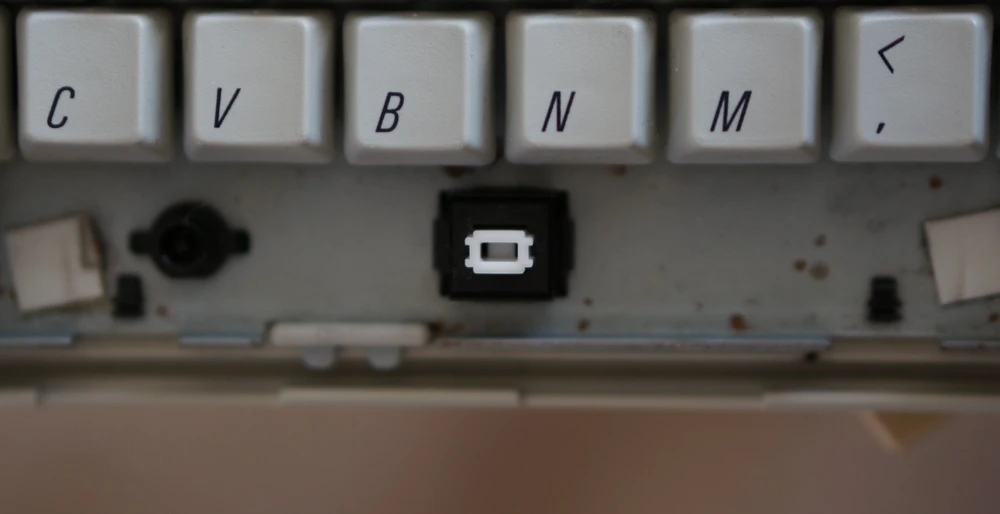
The only slightly tricky thing I had trouble with was seating the keycaps that required stabilizers. Since I didn’t remove the caps from an existing keyboard, I wasn’t able to observe how they were originally placed. The space bar was especially annoying, I tried placing the stabilizer in various orientations before I found a photo of the correct one. Also, the keycaps required more force than I expected in order to firmly seat them on each switch stem. I had each keycap in place, then realized that I needed to push harder on each one in order to get them really on there.
Since the Alps64 board is only 60%, it’s missing lots of keys that a full-sized keyboard would have — most notably the escape key. Fortunately
there is an incredibly user friendly firmware editor which allows you to create multiple
“layers” on your keyboard. For example, in my default layer, all keys are taken at face value, but if I hold the right control key,
a second layer is activated, which maps backtick to escape, WASD to arrow keys, 1-9 to function keys, etc. So you can basically
customize the layout completely.
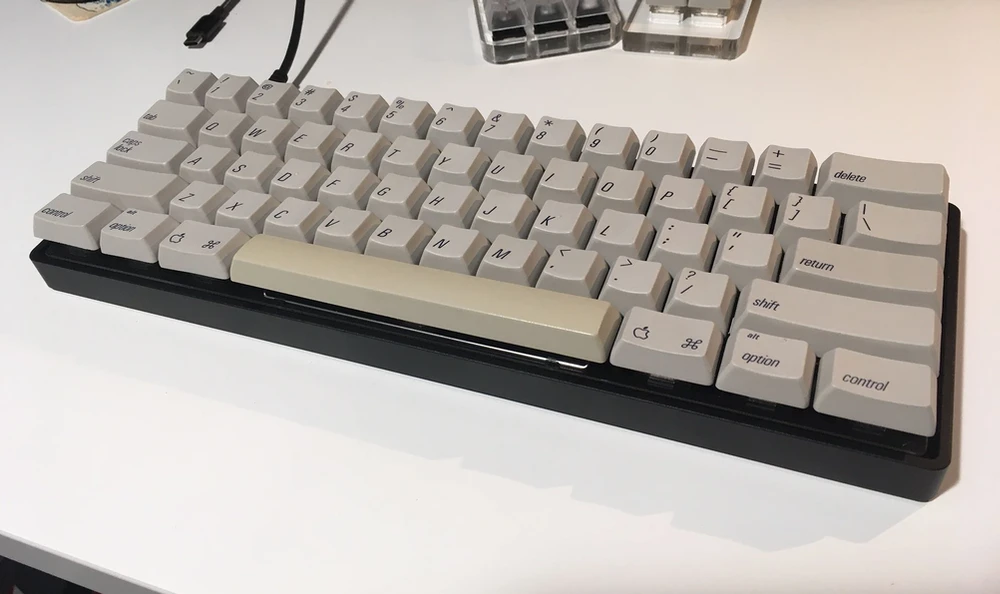
I really like this keyboard so far. The Matias quiet click switches are very satisfying, and the weight of the aluminum case gives some heft which
is missing from my Quefrency and HHKB. The classic Apple font on the keycaps is also delightfully nostalgic. It also is totally fine driving
my Linux box — the command key acts like super. The only downside was the cost; I paid over $200 for the various parts,
which is not cheap. Fortunately (for me, at least) I was able to expense my company to cover the costs. For that small intersection of people between
keyboard nerds and Mac users, I can definitely recommend building off an Alps64.
Comments