Play Spelunky on OS X!
Spelunky is a great game. I remember playing the first freeware version, and sucking at it. I don’t think I ever got past the Mines. Never owned an Xbox 360, so I wasn’t able to play the HD remake when it was first released. I shed bitter tears about that. Imagine my joy when a port was released for PS3 (which I actually owned)! Imagine my anguish when my PS3 bit the dust, suffering from the dreaded “Yellow Light of Death!”
While there is a PC version of the game, no OS X port has been released, and it’s looking rather unlikely at this point. Fortunately, it’s super easy to get the Windows version of the game running in Wine! Even better, there’s an application called Wineskin Winery, which will bundle the Windows .exe into its own self-contained Mac .app bundle! When you get the whole thing working, it’s totally seamless and amazing. While I found a few tutorials online to help walk through the process of getting Spelunky up and running, they were a bit sketchy, so I figured I’d recount the process here, complete with screenshots. Note that I’m running the GOG version.
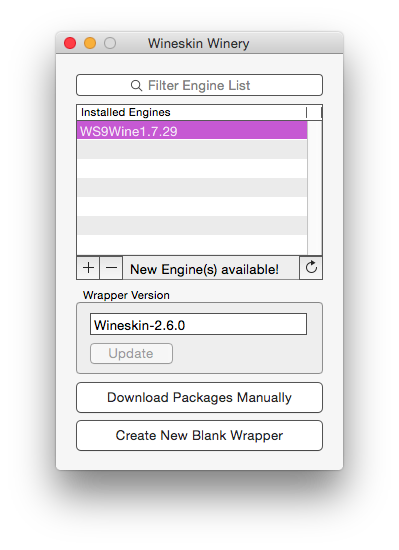
- Download Wineskin Winery. When you start the app, you’ll see something like this
- Install an engine. I installed 1.7.29, but you can probably use anything newer.
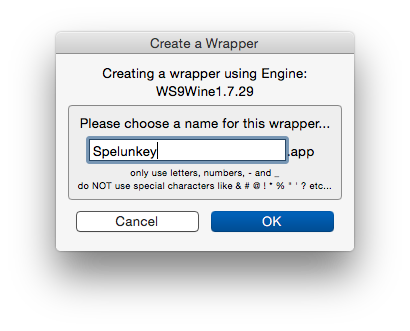
- Click “Create New Blank Wrapper.” Give it an awesome name.
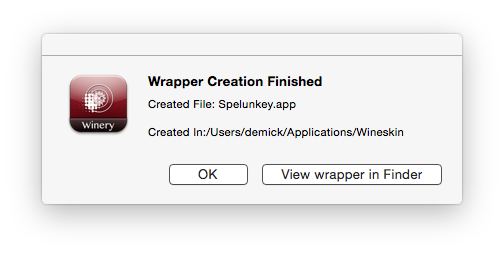
- The wrapper is done! Click the “view wrapper in Finder” button.
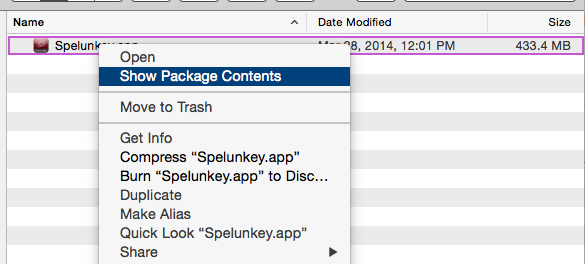
- Right-click the wrapper app and choose “Show package contents.”
- You’ll see an app called
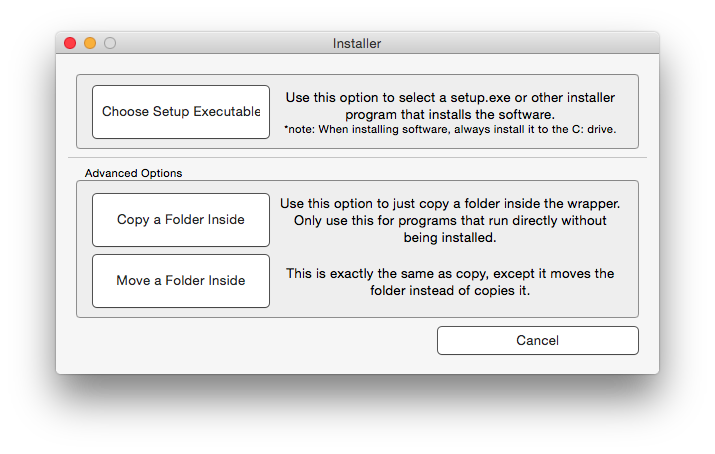
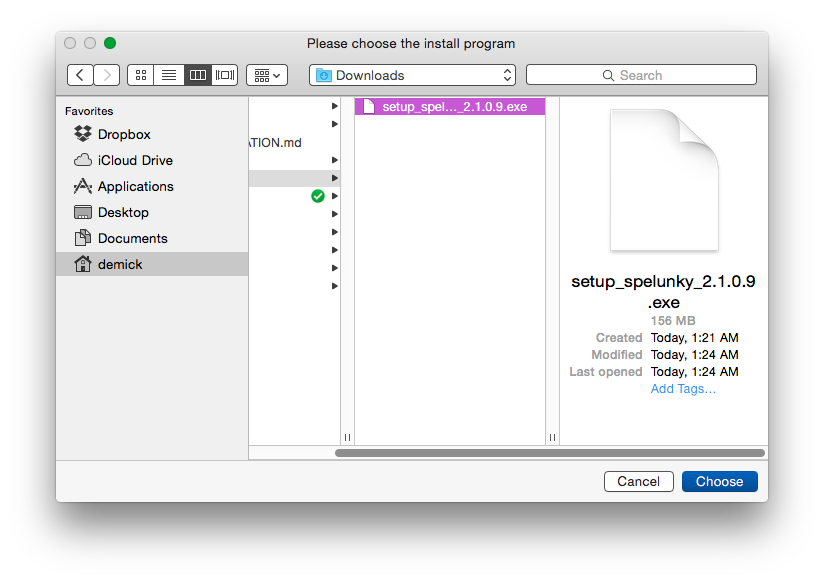
Wineskin.app. Open it, then choose “Install Software.” - The installer will allow you to choose a setup executable. Click that then choose the Spelunky setup .exe.
- Install it!
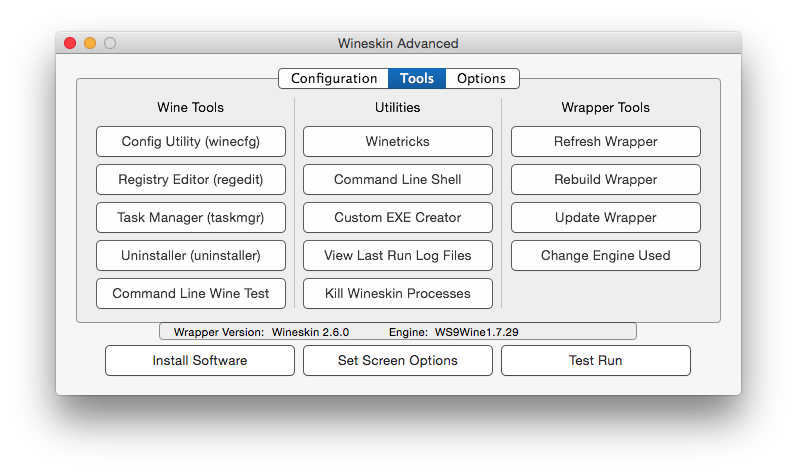
- Click the “Advanced” options and choose “Tools” -> “Winetricks”.
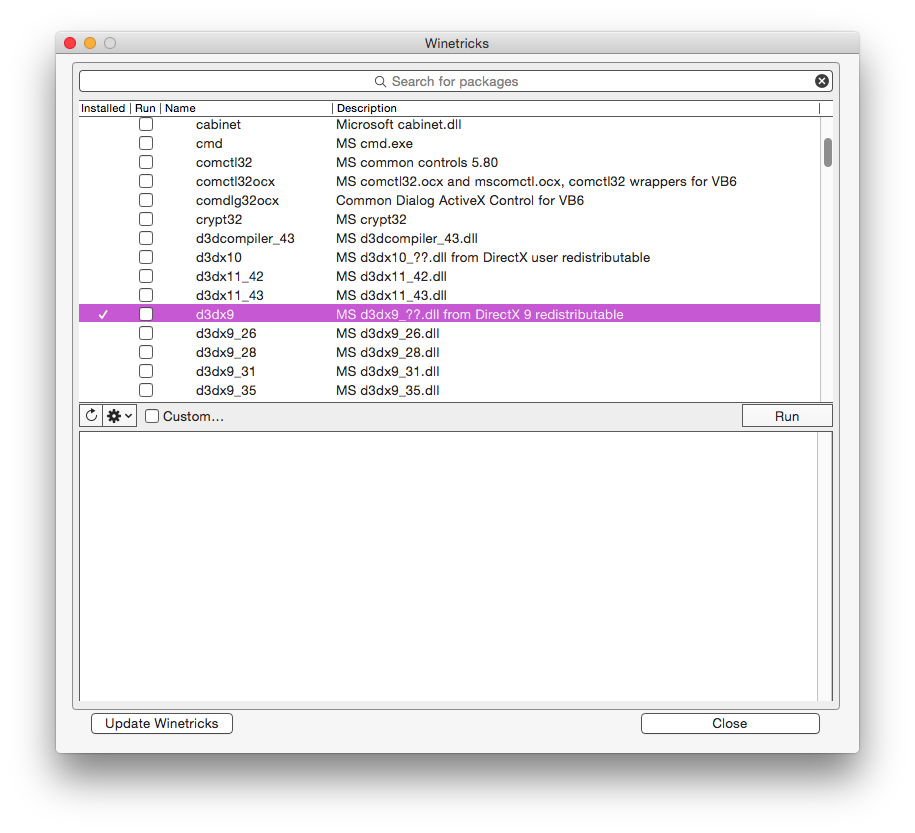
- Install
d3dx9from the “dlls” section. - Do a test run. Hopefully it should work!
- Use Controllers to map keyboard input to your Bluetooth game controller!
Now, enjoy some of that sweet, sweet Spelunky-ing.
Comments